To create a stylish lamp from everyday objects, start by choosing recycled items like jars, vintage tins, or wooden crates. Combine these with a basic DIY lamp kit, including a socket, cord, and LED bulb, ensuring all electrical work is safe. Personalize your design by incorporating vintage finds or repurposed materials for a unique look. If you continue exploring, you’ll discover simple steps and safety tips to bring your idea to life with flair.
Key Takeaways
- Select everyday recycled or vintage items like jars, tins, or wooden crates as the lamp base for a personalized look.
- Gather basic DIY supplies, including a lamp kit, LED bulb, and tools for drilling and securing components.
- Create a safe electrical connection by properly securing the socket, cord, and switch, following safe wiring practices.
- Customize your lamp with vintage or decorative elements to enhance its style and reflect your unique decor.
- Ensure the assembled lamp is stable, structurally sound, and safe for everyday use to enjoy your stylish, eco-friendly creation.
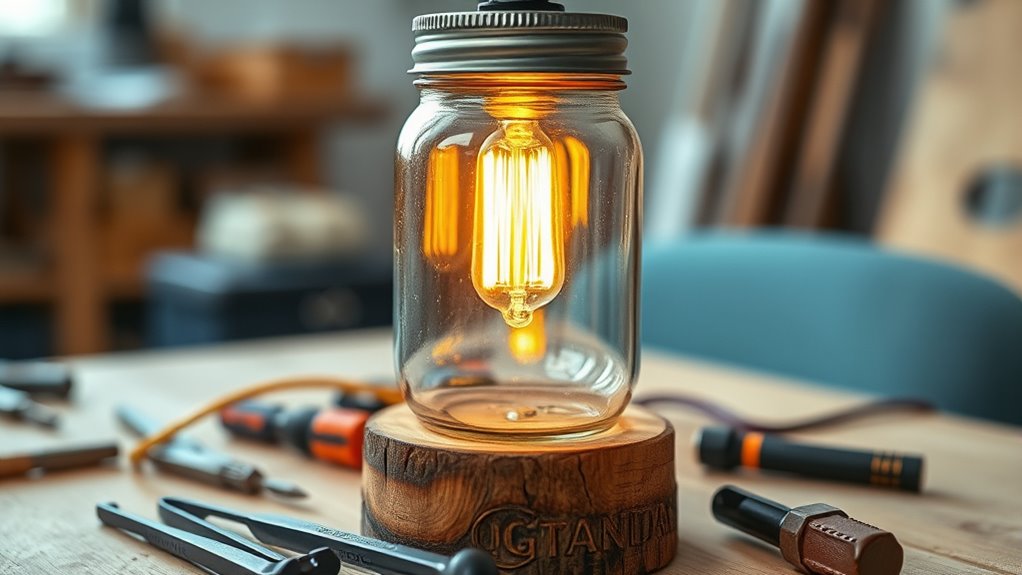
Ever wondered how to brighten your space without breaking the bank? Creating your own stylish lamp is a fantastic way to do just that, especially when you tap into recycling materials and vintage decor elements. Not only do you save money, but you also add a unique touch to your home that reflects your personality. The beauty of DIY lighting lies in its versatility and the endless possibilities to repurpose items you already have lying around. Think old jars, teacups, wooden crates, or even vintage finds from flea markets—these can become the core of your custom lamp. Recycling materials not only keeps waste out of landfills but also offers you an eco-friendly and creative outlet.
Start by gathering your recycled and vintage items. An old glass jar or a vintage tea tin can serve as the base for a rustic table lamp, while a reclaimed wood spool can become a striking floor lamp. For the light source, you can use energy-efficient LED bulbs, which are safe and long-lasting. To assemble, you’ll need some basic supplies like a lamp kit, which includes a socket, cord, and switch. Carefully drill a hole in your chosen base if needed, then thread the cord through it. Secure the socket and add your bulb, ensuring all connections are tight and safe. The key is to keep the design simple but impactful, allowing the character of your recycled or vintage object to shine through. Additionally, understanding safe electrical practices is crucial to ensure your DIY lamp is both beautiful and secure.
Incorporating vintage decor into your DIY lighting project lends a nostalgic charm that can transform the ambiance of any room. Imagine a retro-inspired lamp made from a vintage camera or an old typewriter, turned into a quirky reading lamp. These pieces not only illuminate your space but also serve as conversation starters, showcasing your creativity and appreciation for history. Plus, using vintage decor adds a layer of personality that store-bought lamps often lack. By mixing old and new, you create a one-of-a-kind piece that complements your interior style perfectly.

Lamp Rewire Kit – 3-Way Socket With Matching Cord and Harp Set for Table or Floor Lamp Repair, Essential Hardware for DIY Design (Antique Brass, 1)
EXTRA LONG 12 FOOT CORD & QUALITY HARDWARE SET Included – A 12ft Electric Cord with polarized plug…
As an affiliate, we earn on qualifying purchases.
As an affiliate, we earn on qualifying purchases.
Frequently Asked Questions
What Safety Precautions Should I Take When Wiring My DIY Lamp?
When wiring your DIY lamp, prioritize electrical safety and follow proper wiring precautions. Always unplug the power source before starting, wear insulated gloves, and use tools with insulated handles. Double-check your connections for secure, correct wiring to prevent shorts. Avoid overloading circuits and ensure your wiring complies with local electrical codes. If unsure, consult a professional. These steps help prevent shocks, fires, and guarantee your lamp is safe to use.
Can I Use Recycled Electrical Components for My Lamp Project?
Yes, you can use recycled electrical components for your lamp project, but you must prioritize electrical safety. Make sure to inspect all components thoroughly for damage, corrosion, or wear. Only use parts that are rated for the appropriate voltage and current. If you’re unsure about the safety or compatibility of recycled components, consult a professional or follow safety guidelines to avoid risks like short circuits or electrical fires.
How Do I Ensure My Lamp Is Energy-Efficient?
Want your lamp to be energy-efficient? You should choose energy-saving bulbs like LEDs, which use less power and last longer. What’s your lamp’s power consumption? Opt for bulbs with lower wattage, and consider using a dimmer switch to control brightness and save even more energy. By making these simple changes, you’ll reduce electricity use and enjoy a stylish, eco-friendly lamp. Isn’t that a smart move?
What Tools Are Essential for Building a DIY Lamp?
You’ll need basic tools like a screwdriver, wire strippers, and pliers to build your DIY lamp. These tools help you assemble parts securely and handle wiring safely. Remember, electrical safety is vital—always unplug your lamp before working on it, and double-check connections. Having these essential tools on hand makes the process smoother and safer, ensuring your stylish new lamp functions perfectly and safely in your space.
How Can I Make My Lamp Portable or Rechargeable?
Like Icarus reaching for the sun, you can make your lamp portable or rechargeable by integrating portable power options. Use rechargeable batteries to guarantee your lamp stays lit wherever you go, and consider a compact power bank for extended use. Add a switch for easy on/off control. This way, your lamp becomes a versatile piece, perfect for outdoor adventures or cozy nights without relying on a fixed power source.
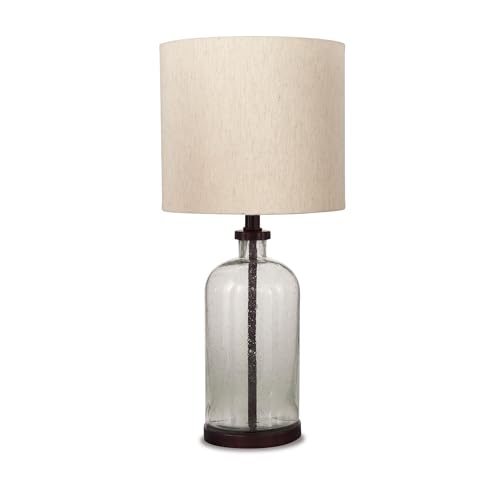
Signature Design by Ashley Bandile Modern Farmhouse 22.5" Seeded Glass Table Lamp, Bronze
RUSTIC CHARM FOR ANY ROOM – Bring modern farmhouse appeal to your home with this versatile lighting solution….
As an affiliate, we earn on qualifying purchases.
As an affiliate, we earn on qualifying purchases.
Conclusion
Now that you’ve transformed everyday objects into a chic lamp, your space radiates your unique style like a shining beacon. With a little creativity and a dash of ingenuity, you’ve turned the ordinary into extraordinary, proving that beautiful illumination is just a DIY project away. Let your new lamp be the lighthouse in your room’s design, guiding warmth and personality into every corner. Brighten your world with your own hands, and watch your space come alive with your personal glow.

TCODTPOL Table Lamp Base Replacement Only (M (W 4 H 15 Inch))
Matelial & Color Resin base finished dark bronze, Lamp support Included.
As an affiliate, we earn on qualifying purchases.
As an affiliate, we earn on qualifying purchases.

Life optimization 20-Pack 38mm Rigid Ceramic LED Filament, 3V DC, Vintage Edison Style Light Source for DIY Bulb Projects, Lamp Repair, and Low Voltage Lighting
AUTHENTIC VINTAGE AESTHETIC, MODERN LED TECH Perfectly replicate the classic, warm glow of a traditional tungsten bulb without…
As an affiliate, we earn on qualifying purchases.
As an affiliate, we earn on qualifying purchases.