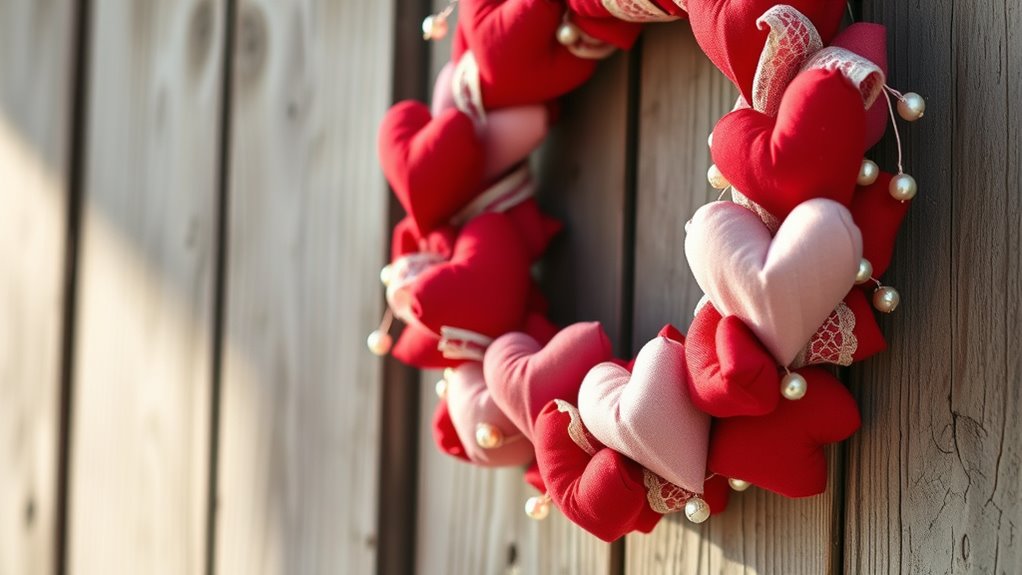

To create a heartfelt DIY Valentine’s Day wreath, start by selecting a sturdy wreath base like wire or grapevine. Add romantic embellishments such as faux flowers, small fabric hearts, and ribbons, securing each with hot glue or floral wire. Personal touches, like initials or special mementos, make it unique. Arrange everything thoughtfully for balance and display it in a prominent spot. Keep exploring for expert tips to make your wreath truly unforgettable.
Key Takeaways
- Select a suitable wreath base and gather decorative elements like faux flowers, ribbons, and heartfelt embellishments.
- Securely assemble the wreath base using floral wire or hot glue for stability and even shape.
- Attach personal touches such as fabric hearts, love notes, or initials to add sentimentality.
- Arrange decorations thoughtfully, balancing colors and sizes for visual harmony and secure them firmly.
- Hang the finished wreath in a prominent spot using appropriate hooks or hangers for optimal display.

JINGHONG Valentine's Day Wreaths 18 Inch Valentines Day Wreath Heart Shaped Wreaths for Front Door with Red Pink Hearts for Anniversary Wedding Dinner Decorations
【Warm and Romantic】Based on a heart shaped grapevine base,the Valentine’s Day wreath is decorated with red and pink…
As an affiliate, we earn on qualifying purchases.
As an affiliate, we earn on qualifying purchases.
Gathering Supplies and Materials
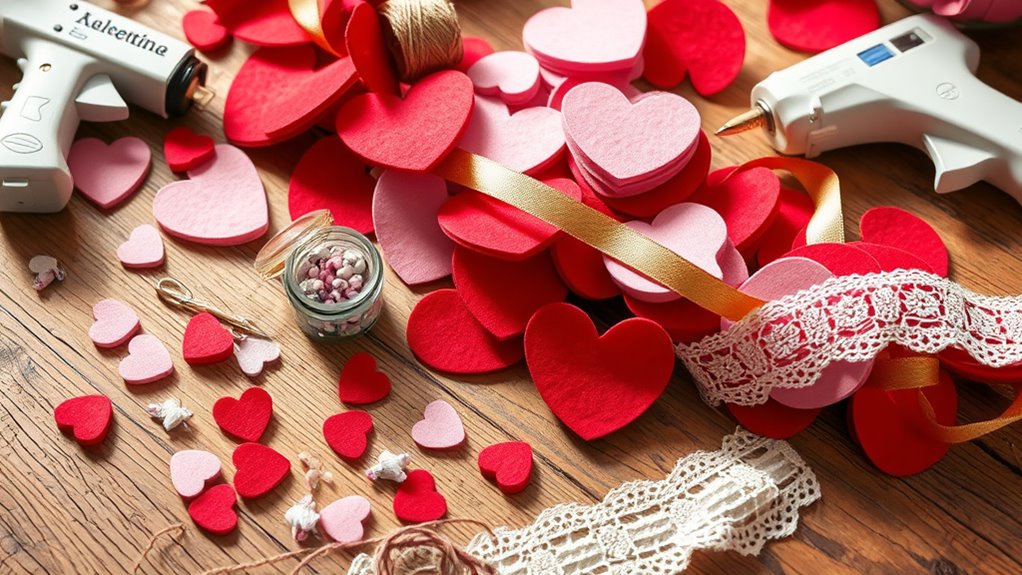
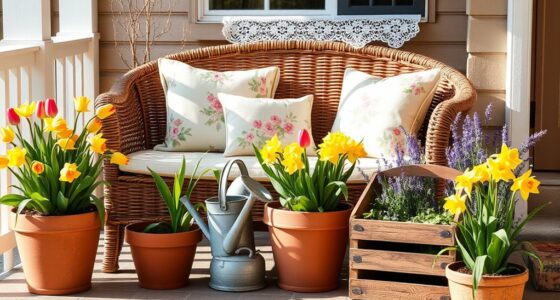
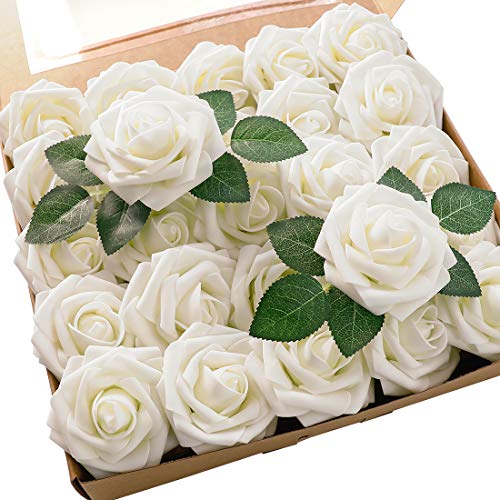
Before you start making your Valentine’s Day wreath, gather all the supplies and materials you’ll need. First, pick up a wreath base—either foam, wire, or grapevine—depending on your preference. You’ll also need plenty of red, pink, and white decorative elements like faux flowers, ribbons, and heart-shaped embellishments. Don’t forget scissors, hot glue, and floral wire to attach everything securely. Consider adding extra touches like glitter, felt shapes, or small ornaments for personalization. Check your craft supplies at home first to see what you already have, then make a list of what’s missing. Having everything ready beforehand guarantees a smooth crafting process and saves you time in the middle of your project. Proper backyard transformation essentials can also inspire creative ways to display your wreath outdoors.
Floroom Artificial Flowers 25pcs Real Looking Ivory Foam Fake Roses with Stems for DIY Wedding Bouquets White Bridal Shower Centerpieces Arrangements Party Tables Decorations
❤️Material: Floroom Studio's artificial roses are crafted from soft, high-quality PE foam, which lends them the look and…
As an affiliate, we earn on qualifying purchases.
As an affiliate, we earn on qualifying purchases.
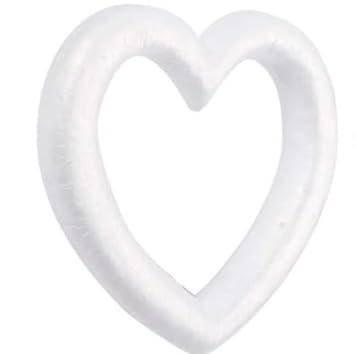
Crafting the Base for Your Wreath
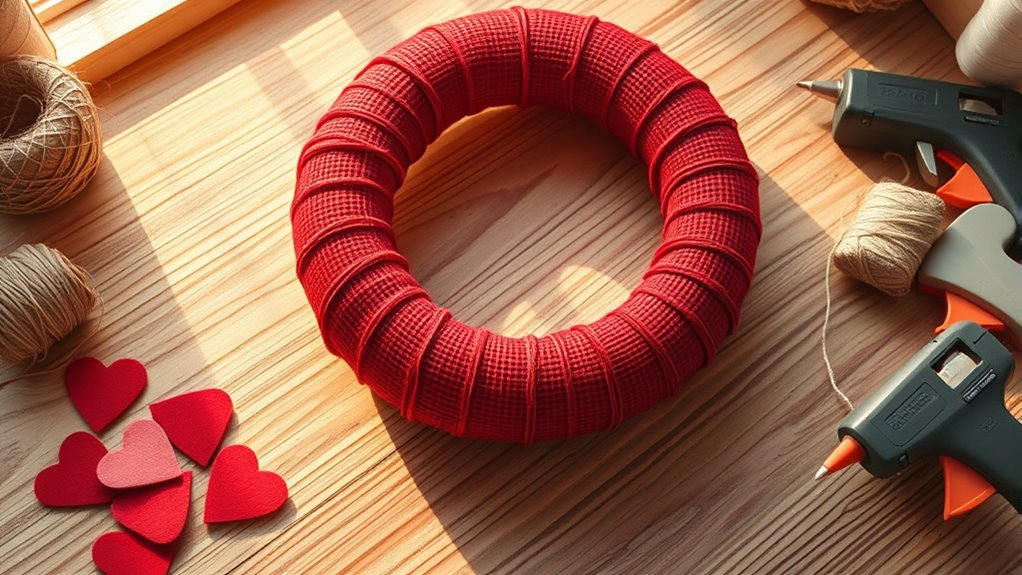
Once you’ve gathered your supplies, it’s time to start shaping the foundation of your Valentine’s Day wreath. Choose a wreath form that suits your style—wire, foam, or grapevine all work well. If you’re using a wire frame, twist the ends together to secure it. For foam or grapevine bases, start by attaching the main structure with floral wire or hot glue, ensuring it’s sturdy. Wrap the base with burlap, fabric strips, or ribbon to create a smooth surface and add a pop of color. This step establishes the shape and stability of your wreath, so take your time to make sure it’s even and secure. A solid base makes attaching decorations easier and results in a more polished finished product. Proper wiring techniques ensure the stability and longevity of your wreath.
HEIHAK 3 PCS 11.8 Inches Foam Wreath Hearts, White Styrofoam Heart Wreath, Heart Shaped Foam Ring for Crafts, DIY Projects, Wedding, Valentine's Day, Floral Arranging Decoration
「DIY PROJECTS」 The smooth surface of craft foam heart is ideal for a variety of DIY projects. You…
As an affiliate, we earn on qualifying purchases.
As an affiliate, we earn on qualifying purchases.
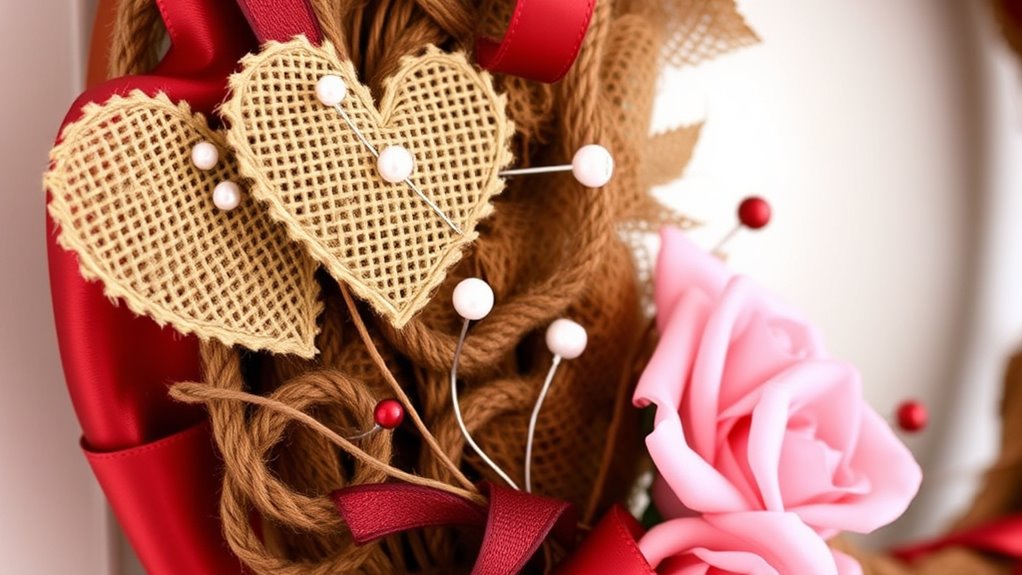
Adding Heartfelt Embellishments
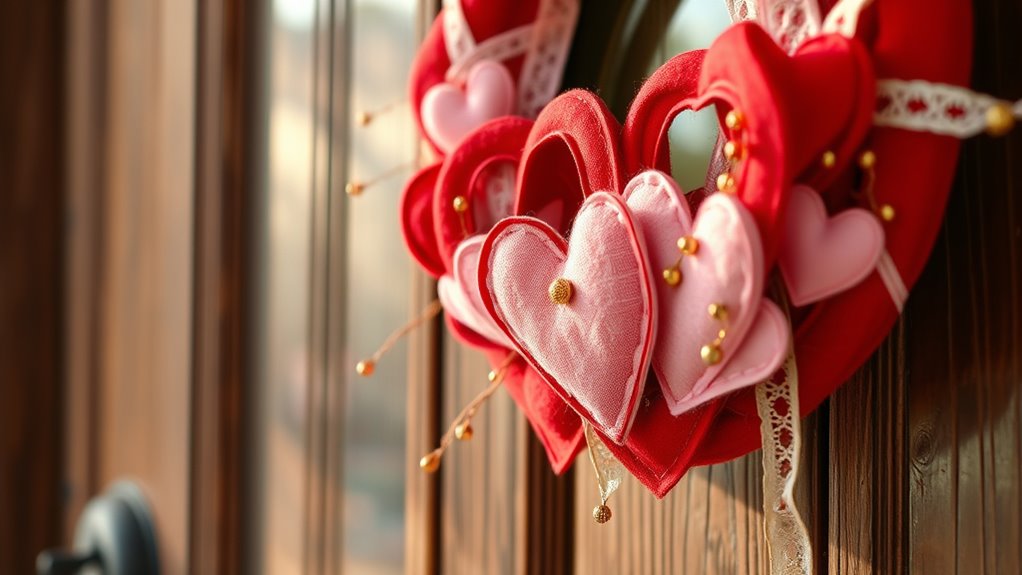
Adding heartfelt embellishments is where your wreath really begins to shine. Here, you’ll infuse your design with personal touches that evoke warmth and love. Consider attaching small fabric hearts, satin ribbons, or glittery accents to add texture and visual interest. You might also incorporate miniature love notes or heartfelt quotes on tags or banners for a meaningful element. Using hot glue, secure these embellishments carefully to guarantee they stay in place. Be creative with your choices—think beyond traditional symbols and include items that hold personal significance. Keep the arrangement balanced and avoid overcrowding, so each embellishment has its moment to stand out. This step transforms your wreath into a heartfelt expression of your Valentine’s Day spirit. Additionally, incorporating personalized touches can make your wreath more unique and memorable.

Krightlink Hot Glue Gun Kit with 30 Glue Sticks, Fast Preheating Hot Melt, High Temp for School Crafts DIY Arts and Quick Home Repairs (20w)
✔ Fast Preheating – 20w glue gun features a fast 1 minutes warm up time; Infused with a…
As an affiliate, we earn on qualifying purchases.
As an affiliate, we earn on qualifying purchases.
Personalizing With Custom Touches
Personalizing your wreath with custom touches is the perfect way to make it truly unique and meaningful. You can add elements that reflect your personality or relationship, making your decoration one-of-a-kind. Consider including small keepsakes or mementos that hold sentimental value, like tiny photo charms or handwritten love notes. You might also personalize it with initials or meaningful dates using paint, stickers, or fabric. For a more handcrafted feel, incorporate your favorite colors or patterns that resonate with your style. Additionally, drawing inspiration from net worth estimates of various individuals can help you select meaningful symbols or tokens to include. Some ideas to customize your wreath include: – Attaching small, meaningful charms or tokens – Adding personalized banners or ribbons with special messages – Using monogrammed or painted initials for a personal touch
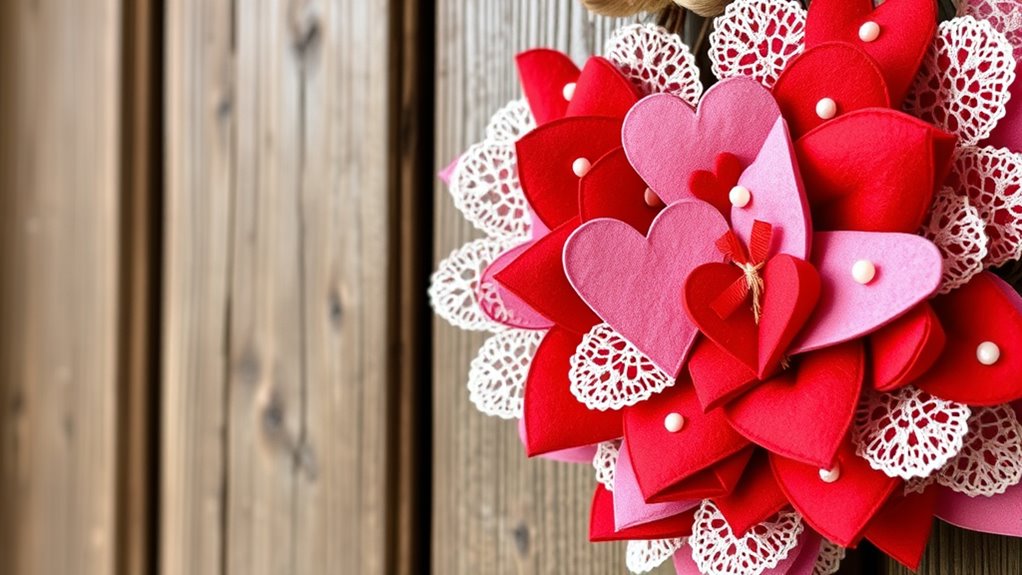
Arranging and Securing Your Decorations
After customizing your wreath with meaningful touches, it’s time to arrange and secure these decorations so they stay beautifully in place. Begin by planning your layout; place larger elements first to create a foundation. Use hot glue or craft adhesive to attach heavier decorations securely, pressing firmly until they set. For lightweight items like paper hearts or small ornaments, double-sided tape or craft pins work well. Keep your design balanced by distributing colors and shapes evenly. To prevent decorations from shifting, reinforce their attachment with extra glue or wire if needed. Adjust as you go, ensuring each piece is stable before moving on. Once everything is in place, gently shake the wreath to check for loose decorations, securing any that feel unstable. Incorporating innovative adhesive techniques can further enhance the durability of your decoration setup.
Final Tips for Displaying Your Handmade Wreath

To guarantee your handmade wreath makes a striking impact, consider how and where you display it. Choose a prominent spot that welcomes guests and complements your decor. Make sure the wreath is at eye level for maximum visibility. Use appropriate hooks or wreath hangers to prevent slipping or damage. Keep the area around it uncluttered to let your creation stand out. Consider lighting—adding a small spotlight or placing it near a light source can enhance its charm. Here are some final tips:
Display your wreath at eye level in a prominent, uncluttered spot with good lighting for maximum impact.
- Ensure the wreath is securely fastened to prevent falling
- Pair with complementary decor for a cohesive look
- Rotate or update your display for seasonal freshness
- Take advantage of smart home lighting to highlight your wreath beautifully. A thoughtful placement makes your DIY project truly heartwarming and memorable.
Frequently Asked Questions
What Are Some Budget-Friendly Alternatives for Decorating My Wreath?
You can use inexpensive materials like felt, paper, or fabric scraps to add colorful accents to your wreath. Incorporate faux flowers or inexpensive embellishments from dollar stores, or repurpose items you already have, like ribbons or buttons. Using natural elements such as pinecones or twigs can also add charm without extra cost. Get creative with what’s around you—your personalized touch will make your wreath special and budget-friendly.
How Can I Make My Wreath More Durable for Outdoor Display?
Your wreath can withstand anything life throws at it—well, almost! To make it more durable for outdoor display, seal it with a weatherproof spray, focusing on the flowers and decorations. Use a sturdy base like wire or foam, and secure everything tightly with hot glue or floral wire. Keep it in a shaded spot when possible, and check it regularly to fix any damage, ensuring your heartfelt decor lasts.
Which Colors Are Best for a Versatile Valentine’s Day Wreath?
You should choose classic colors like red, white, and pink for a versatile Valentine’s Day wreath. These shades complement each other and fit various decor styles, from modern to rustic. Incorporate different textures or metallic accents to add depth without overwhelming the color scheme. This way, your wreath stays stylish and adaptable, making it perfect for many settings and easily pairing with other seasonal decorations.
How Long Does It Typically Take to Complete a DIY Valentine’s Wreath?
It usually takes you about 1 to 3 hours to complete a DIY Valentine’s Day wreath, depending on your skill level and design complexity. I once spent an afternoon crafting a wreath that turned out to be a heartfelt gift for my friend—showing how a little time investment creates something truly special. Plan your project in stages, and you’ll enjoy the process as much as the finished product.
Can I Repurpose Materials From Previous Crafts for This Project?
Yes, you can definitely repurpose materials from previous crafts for your Valentine’s Day wreath. Look through your supplies for items like ribbons, fabric scraps, or decorative embellishments that match the theme. This not only saves you money but also adds a personal touch. Be creative and flexible—combine old and new elements to create a unique, heartfelt wreath that reflects your style and efforts.
Conclusion
Now that you’ve crafted your masterpiece, it’s ready to steal hearts (and maybe a few looks of envy). Hang it proudly, because nothing says “I love you” quite like a handmade wreath that’s perfectly imperfect. Remember, no wreath is complete without a dash of humor and a sprinkle of patience—after all, even the most charming creations sometimes need a little extra glue. Happy Valentine’s Day, and may your decor be as fabulous as your love life isn’t!